
 When I was given the chance to review a new confectionary
cook book called Marshmallow Madness I jumped at the chance! Although I
normally cook savoury items, with the odd bit of baking, I have tried making
sweets in the past and I must say it is a lot of fun! When making sweets you can
really let your imagination run wild with flavours, shapes and colours – for
this reason, marshmallows are one of the best!
When I was given the chance to review a new confectionary
cook book called Marshmallow Madness I jumped at the chance! Although I
normally cook savoury items, with the odd bit of baking, I have tried making
sweets in the past and I must say it is a lot of fun! When making sweets you can
really let your imagination run wild with flavours, shapes and colours – for
this reason, marshmallows are one of the best!
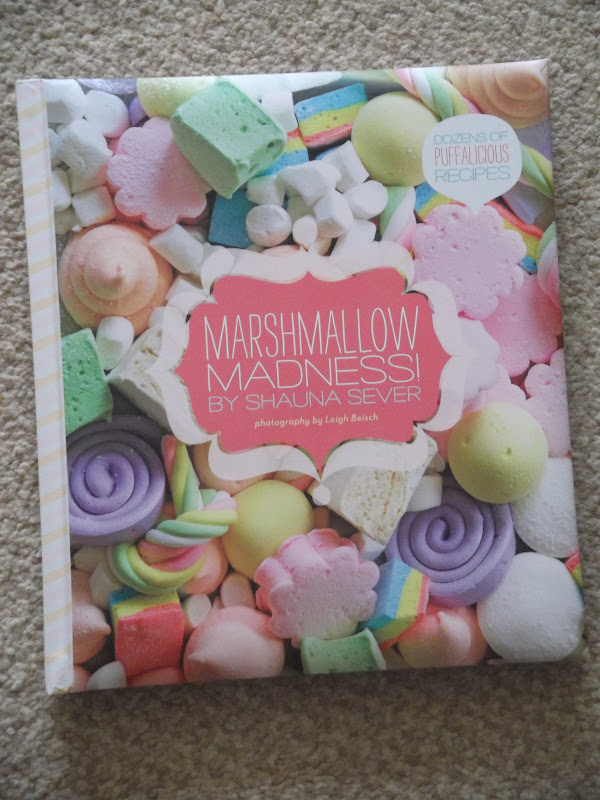
As soon as the book arrived I couldn’t wait to get started
(though I soon realised this wasn’t going to happen). It is an extremely fun,
brightly coloured book with beautiful photographs on almost every page which
really inspire you to get creative! The book as a whole definitely brings out
the child in you! The front and back cover are also lightly padded so that the
book feels like a giant marshmallow!!! Gimmicky? Yes! But I love it! The
publishers have really gone the extra mile with this book and it pays off.
Now, when I first get my hands on a cook book I read it like
a regular book, cover to cover, to get to grips with its layout, its writing
style, and of course the pictures! I find this means when I come to try out the
recipes I already feel familiar with them and it makes the whole cooking
process much easier – it also means you don’t skip important sections on
essential ingredients, tools, tips and techniques. Marshmallow madness really
spells out for you everything you will need which although may mean you can’t
pick up the book and get cooking straight way, it does mean that you will be
fully prepared when you do!
For example the book is broken down into: the introduction, the classics, fresh and fruity, happy hour, for the mallow connoisseur, kids in a candy store and fluffy, puffy desserts!
I think it’s fair to say that most people would be daunted
by the prospect of making home-made marshmallows, and I was too! They are
something I’ve been hoping to try for a while, but not having the “right” equipment
has always put me off, and to be honest I think rightly so! Confectionary
making is often described as a “science” and all of my past sugary exploits
have been supervised by my Uncle who is a trained chef, so going it alone when
making marshmallows was very scary! I decided to be super organised and be as
precise as I could.
The whole marshmallow making process is clearly a lot more
enjoyable if you have what you need at your disposal. Unfortunately, I didn’t,
so I had to make a few concessions:
Firstly, I only had sheet gelatine in the house...after
reading a few blog posts on the internet about how to substitute sheet for
powdered, I soon realised it was far too complicated and not worth the hassle,
so I gave in and purchased powdered. First problem overcome.  Secondly, I don’t have a stand mixer – the internet gives
mixed messages on this; as you’re dealing with boiling sugar I think it’s
sensible to be cautious and I don’t blame anyone who says they wouldn’t try
marshmallow making without a stand mixer and splash guard, but, I wasn’t going
to and buy a whole new mixer!!! So...here are my words of wisdom to you; wear
long sleeves and rubber gloves if you are particularly clumsy! Boiling sugar
BURNS much worse than boiling water so make sure your arms are covered as you
pour it into your gelatine mix. I’d also recommend getting a friend to help if
possible. I managed two batches all by myself without rubber gloves and a
friend as the quantities of boiling sugar are not that large so please don’t be
put off by my over cautious advice! The one thing I would say if you are doing
it yourself is use a pan you can carry with one hand comfortably.
Secondly, I don’t have a stand mixer – the internet gives
mixed messages on this; as you’re dealing with boiling sugar I think it’s
sensible to be cautious and I don’t blame anyone who says they wouldn’t try
marshmallow making without a stand mixer and splash guard, but, I wasn’t going
to and buy a whole new mixer!!! So...here are my words of wisdom to you; wear
long sleeves and rubber gloves if you are particularly clumsy! Boiling sugar
BURNS much worse than boiling water so make sure your arms are covered as you
pour it into your gelatine mix. I’d also recommend getting a friend to help if
possible. I managed two batches all by myself without rubber gloves and a
friend as the quantities of boiling sugar are not that large so please don’t be
put off by my over cautious advice! The one thing I would say if you are doing
it yourself is use a pan you can carry with one hand comfortably.
Thirdly, the book is American and therefore the recipe calls
for “cups,” this shouldn’t be too much of a problem, but it does call for a quintessential
American ingredient, “corn syrup”. Shuana deals with this quite early on saying
you can have a play around substituting corn syrup for maple syrup, golden
syrup, honey etc. I just want to reassure you that golden syrup works just
fine! So being English isn’t an excuse! Grab your tin of golden syrup and get
mallowing.
Lastly, the big question that I’ve seen asked a hundred
times on the internet...can you make marshmallows without a candy
thermometer...my gut instinct is probably, so long as lady luck is on your
side! By the time I got to considering whether to attempt the marshmallows in
this book without a candy thermometer I had already read it cover to cover,
soaked up Shauna’s words of wisdom and decided I didn’t want to butcher her
recipes and end up giving the book a bad review, so...I went on ebay and
purchased one for £4 (inc. postage and packaging!) I suggest you do the same! SO...I’ve already written 500 words on what you need BEFORE
you attempt any of these recipes...if you were thinking of gifting this book to
someone, consider whether they have the necessary apparatus first! It’s a
little disappointing receiving a cook book you soon realise you can’t cook
from.
SO...I’ve already written 500 words on what you need BEFORE
you attempt any of these recipes...if you were thinking of gifting this book to
someone, consider whether they have the necessary apparatus first! It’s a
little disappointing receiving a cook book you soon realise you can’t cook
from.
Shauna makes these recipes look REALLY simple once you have
all the apparatus and ingredients you need, ready and prepped, and I think she
is right to suggest that preparation is key! Each recipe is broken down into 3
or more processes, the bloom, the syrup and the mallowing. Each of these is
colour coded and represented by a different symbol which makes following the
recipes extremely simple! A big plus!
I decided to start simple with the Classic Vanilla Marshmallow
recipe. And...it is simple! Who would’ve thought?! I followed the book exactly
down to calibrating my thermometer, whisking for the precise number of minutes
etc and they turned out perfectly! The following recipe has been copied from Shauna's book with the permission of the publisher:

Classic Vanilla Marshmallows
About 2 dozen 1 ½-inch
mallows
The bloom
4 ½ teaspoons
unflavoured powdered gelatin
½ cup cold water
The syrup
¾ cup sugar
½ cup ligh corn syrup
divided
¼ cup water
1/8 teaspoon salt
The mallowing
2 teaspoons pure vanilla
extract
½ cup Classic Coating
(page 8) plus more for dusting
Lightly coat an
8-by-8-inch baking pan with cooking spray.
Whisk together the gelatine
and cold water in a small bowl and let soften for 5 minutes.
Stir together the
sugar, ¼ cup of the corn syrup, water, and salt in a medium saucepan over high
heat. Boil, stirring occasionally, until the temperature reaches 240F. Meanwhile,
pour remaining ¼ cup corn syrup into the bowl of an electric mixer fitted with
the whisk attachment. Microwave gelatin on high until completely melted, about
30 seconds. Pour it into the mixer bowl. Se the mixer speed to low and keep it
running.
When the syrup
reaches 240F, slowly pour it into the mixer bowl. Increase the speed to medium
and beat for 5 minutes. Increase to medium-high and beat for 5 more minutes.
Beat on the highest setting for 1 to 2 minutes more and beat in the vanilla;
the finished marshmallow will be opaque white, fluffy and tripled in volume.
Pour it into the prepared pan, using an offset spatula to smooth it into the
corners. Sift coating evenly and generously over the top. Let set for at least
6 hours in a cool, dry place.
Use a knife to loosen
the marshmallow from the edge of the pan. Invert the slab onto a coating-dusted
work surface and dust it with more coating. Cut into whatever size pieces you
wish (a pizza cutter works great for squares). Dip the sticky edges of the
marshmallows in more coating, patting off the excess.
I would’ve liked a few pictures showing the sugar, whisked
marshmallow etc before it had been coloured and set just in this first recipe
so that you know exactly what consistency you are looking for, but by this
point I had so much confidence in Shauna’s recipes and instructions that once
the whisking time was up I instantly spread them into a tin, dusted them and
left them to set.
If you do want a little advice, just be super organised so
that once the marshmallow mix has been fully whipped you can move quickly getting to your tins, as I found it started setting very quickly! Although its not practical, it did fill me with confidence that my marshmallows would be fine after the full
6 hours setting time.
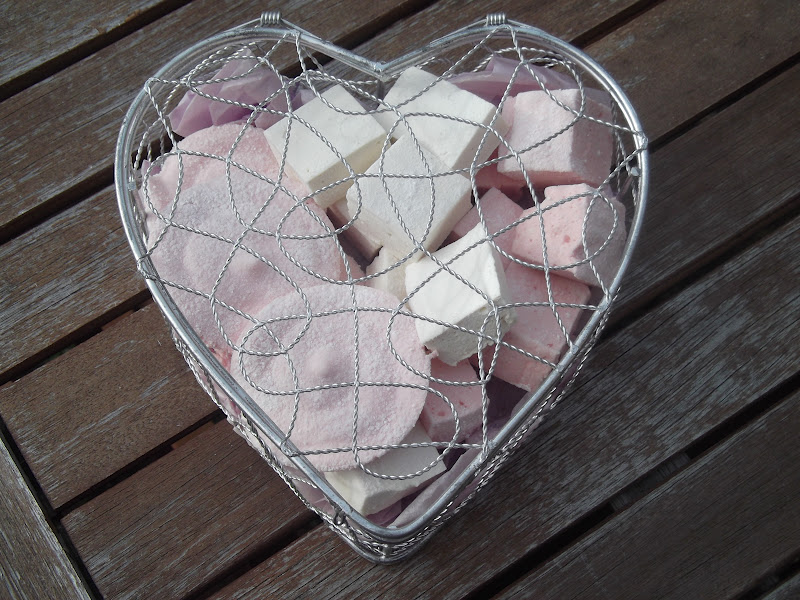
With my second batch I decided to go a little off piste, I
coloured the marshmallows pink, added rose essence instead of vanilla, and
attempted to swirl some of the mix into circles. If you want to get extra
creative Shauna includes information on making layered marshmallows, twisted marshmallows
and much more later in the book.


All in all, I think the book is lovely; it is brightly coloured, full of fun flavour combinations and is extremely easy to follow! I can’t stress how essential it is that you have the right ingredients and equipment, but once you have overcome that hurdle the possibilities really are endless and it really is as easy as Shauna makes out!
Overall, I really can’t complain. Shauna has made
marshmallows as easy as 1-2-3! Those of you who were following me on twitter as
I attempted the marshmallows would’ve seen me say “I feel like Heston!” And I
really did! Within 40mins I had made my first batch of marshmallows, 6 hours
later I got to reap the benefits. If you too have put off giving them a go,
then this is most definitely the book for you, it will change your mind
forever!


All in all, I think the book is lovely; it is brightly coloured, full of fun flavour combinations and is extremely easy to follow! I can’t stress how essential it is that you have the right ingredients and equipment, but once you have overcome that hurdle the possibilities really are endless and it really is as easy as Shauna makes out!
No comments:
Post a Comment